The Internet being the way it is, we often hear about this or that magic solution for cleaning fuel injectors easily, safely, thoroughly, and cheaply. As with most things, rarely does a magic combination of all of those come together at once. Chemical fuel injector cleaners that you add to the gasoline tank can serve a purpose and may help maintain clean lines, but it’s very rare that they will actually clean lines and injectors already fouled by use. Further, adding too much or too little of these cleaners runs the risk of causing engine damage or just wasting money and doing little or nothing at all.
For these reasons, it’s important that the DIY maintenance mechanic be familiar with proper fuel injection cleaning. Cleaning the fuel injectors is not a difficult job, but it does require some knowledge, the right tools, and a little time. Most fuel injection systems can be cleaned from the fuel rail without requiring removal of each individual injector or any major system parts from the engine or car. Chances are, if your car was made in or is sold in the U.S., you can clean the fuel injectors without anything more than a proper fuel injector cleaning kit and a wrench that fits on your fuel rail’s access point.
Most maintenance manuals will recommend fuel injector cleaning every 10,000 or so miles. If you primarily drive on the highway (sustained RPM for longer periods), you can probably go as far as 20,000 before a cleaning would be necessary. As always, refer to your owner’s manual for proper intervals. Starting problems, rough running, or lean/rich running are all possible symptoms of dirty fuel injectors.
The Fuel Injection Cleaning Kit
You’ll first need to acquire a fuel injector cleaning kit. There are several makes and types out there, so buy one from a company you’re familiar with and trust. Do not buy your kit base solely on its price tag. Your kit should be either specific to your car or (more likely) include several adapters so it can work with most vehicles on the road. Kits also differ between gasoline and diesel engines, so be aware of what you’re getting. A good kit can be a relatively expensive proposition tool-wise, but you’ll be using it for a lifetime and likely on more than one car, so invest well.
 Some kits will include extras for doing carbon removal of the intake and most will include adapters for cleaning individual injectors as well as attaching to the fuel rail to clean all of them at once. The canister for creating the pressure for cleaning should include an accurate and easy-to-read gauge for measuring the pressure you’re to use. Most kits will include some kind of instruction manual either in printed form or available for download. Before your start, be aware of the procedure for cleaning your specific vehicle.
Finally, you’ll need quality fuel injector cleaner. There are likely cleaners meant specifically for your kit, so if you aren’t sure what to use, use that.
General Use of the Fuel Injector Cleaning Kit
You will need to bleed the pressure from your fuel lines. You will also likely have to remove or bypass the fuel pump fuse so that your fuel pump does not attempt to push fuel through the lines you’ve disconnected. Sometimes this is as easy as unplugging the fuse, other times it may require jumping the relay. Refer to your shop manual for details on your specific make/model.
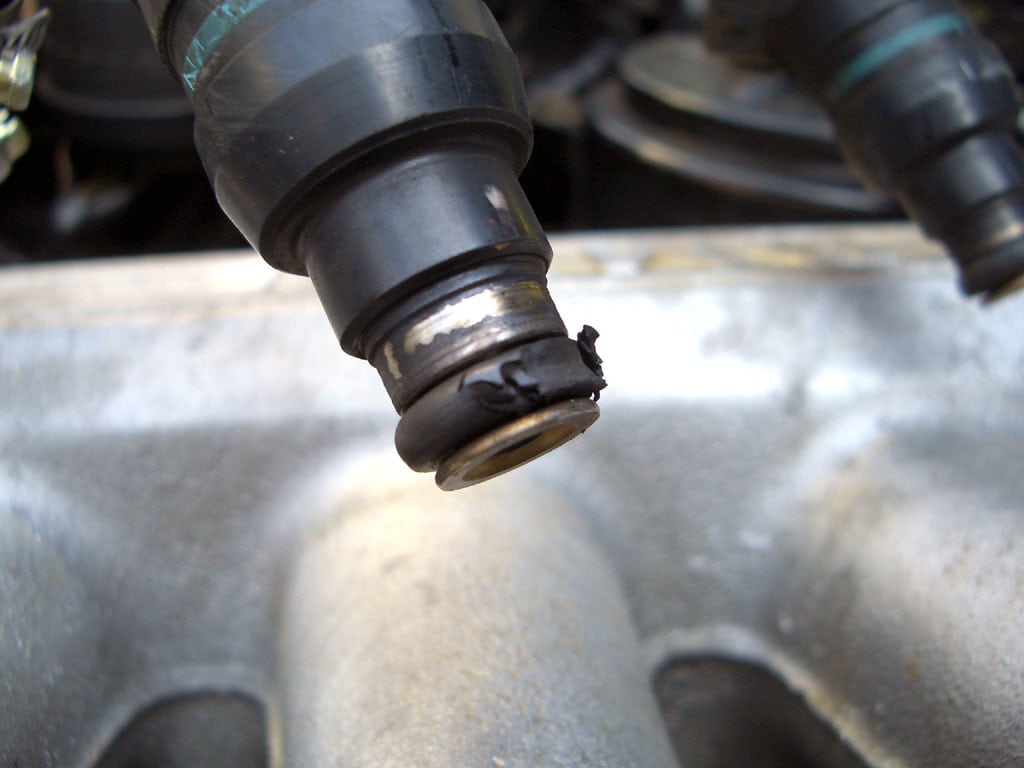
On some cars, you may be required to remove a few items in order to access the fuel rail. Normally this is only plastic covers or air ducts.
The cleaning kit will include a canister which you’ll fill with fuel injector cleaner. The canister should then be placed somewhere safe and away from any electrical output that may happen from the car. Hanging is preferred (most have attachments to hang from the hood), but you can also place it on a wooden block where it will not vibrate off when the car is running. The cleaner inside the canister is highly combustible, so be aware of the dangers present.
The line from the canister should run through a gauge and attach to the fuel rail. Most good kits will include a pressure setting so that you can put the can under pressure and clean individual injectors as well.
The attachment from the canister will either connect directly to the fuel rail bypass or through a T inserted on the pressure side of the fuel system coming into the rail. Once it’s installed and ready, you will disconnect the fuel pump’s power (relay or bypass) and then run the engine on the fuel injector cleaner until it finishes. Watch the pressure gauge to ensure that it does not over-pressure the system.
Most of these injector cleaner kits require that you set the pressure to roughly the engine’s operating pressure, but refer to the cleaning kit’s manual as some require you to set it lower than operating pressure to avoid return. The kit that I use, for example, says to inject at 10psi lower than engine recommendation for this reason. Using your compressed air, pressurize the injector cleaner canister and start the engine. Let it run until the cleaner stops flowing and it shuts down.
From there, removal all of your testing kit components, reinstall the fuel lines and fuses, and start the engine normally. It will take a few cranks to get going as the fuel system must re-pressurize, but the car will eventually start and should be running much more smoothly.
The procedure for cleaning individual injectors will depend on your kit, but usually just involves sending cleaner through the injector in a controlled environment and under controlled pressure.