Modern cars often come with parking sensors, little proximity sensors that detect nearby objects such as other vehicles, pedestrians, posts, and barriers. These systems help alert the driver as to how close she is to the items in order to avoid bumping them. They’re used at low speeds to improve parking. Most sensors are either electromagnetic or ultrasonic. Some are both.
Vehicles that did not come equipped with parking sensors can have them added on as an aftermarket improvement. Doing so requires a little work, but can significantly increase the resale value and daily usefulness of the vehicle. Those often parking in tight spaces or difficult locations will find parking sensors to be a boon.
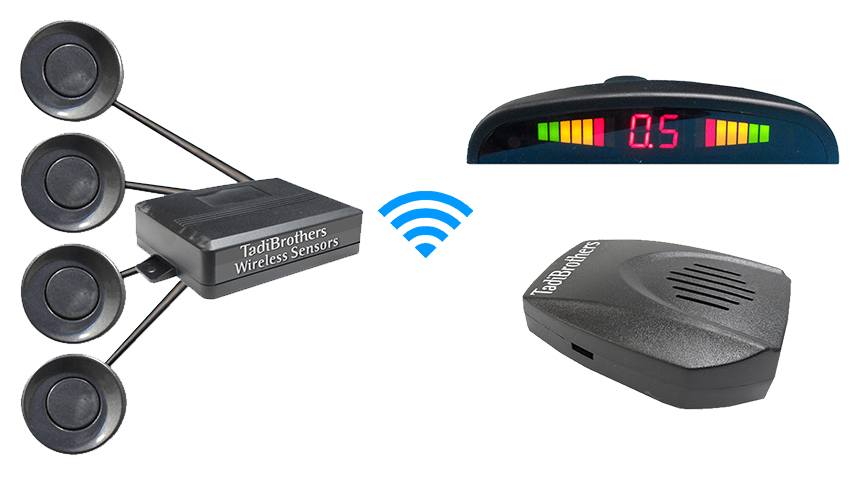
The first step in installation is to source good sensors that match both needs and vehicle. Getting high quality parking sensors is a must, as you don’t want them to deteriorate over time or stop working altogether.
First, test the system to be sure it’s going to work with your vehicle before you install it. Most parking sensor kits will tap into the reverse lights on your vehicle and will install by piggybacking on the reverse light harness. Once the sensor control box is plugged in, put the vehicle in reverse (keeping a foot on the brake, of course) and make sure the sensors are activating.
Now begin installation by selecting where the sensors will be put on the vehicle. Most systems are rear-oriented, meaning they are aiming outwards from the rear of the vehicle for backing situations. Measuring the length of the bumper and using the guide that will be included with your sensor kit, mark locations for optimum angles of coverage. There will usually be at least two facing directly backwards and then one or two for each direction laterally (left, right). Some systems may also include front bumper sensors.
Once the locations are marked, follow the directions with the kit to drill or punch holes to install the sensors into the bumper guard or fender. Clean rough edges with an emery board or light file so that sharp edge points don’t cut wiring. Install the sensors as directed by the kit instructions and then begin wiring.
Most control boxes mount near where they are powered, which is usually at the rear of the vehicle in the trunk or cargo space. Secure the box and run all sensor wires to their appropriate locations on it. Then add the warning siren and test. When satisfied that it works, locate the siren as directed in the instructions, mount and secure.
Various systems have details that may change, but installation of a DIY aftermarket parking sensor kit is relatively easy.