Whether you’ve got a couple of scratches you need to repair or you feel like changing the entire look of your car, getting your daily driver professionally painted can be an expensive proposition. Doing the job yourself can save you money, but if you’re not careful, it can end up looking worse than how it started. Here are some tips and tricks to help you repaint your car without it looking like the world’s biggest Pinterest fail.
Collect Your Tools
Step one is to collect all the tools you’ll need to paint your daily driver. The exact tools will vary depending on how you’re painting. If you’re painting by hand, you’ll need:
- Paint
- Brushes and rollers
- Paint trays
- Mineral spirits
If you’re going for a more professional look, you’ll need:
- Paint
- A spray gun
- An air compressor
For both styles of painting, you’ll need:
- Wet/dry sandpaper in varying grits from 60 to 2,000
- An orbital sander (You can do it by hand, but it will take longer.)
- Masking tape
- Dust masks to keep paint dust out of your lungs.
Seems pretty easy, right? Once you’ve gathered all your materials, it’s time to get to the hard part.

Sand Like Your Life Depends on It
This is where the hard work starts. The first thing you need to do is sand the old paint off. WEAR YOUR DUST MASK. You can take it all the way down to the bare metal if you want, but it’s not really necessary and will add an extra step to your process. Instead, we suggest sanding down to primer and starting from there. Remove any trim pieces that you’re not going to paint to make sure the sanding doesn’t damage them.
Start with the lowest grit sandpaper you have and work your way up to higher grits. You won’t need the ultra-fine papers quite yet, so keep the 1,500 and 2,000 grits on hand for later. Bring it up to an 800 or 1,000 grit so that the paint has a nice even surface to bond to. We suggest an orbital sander for this step, but it’s possible to accomplish your goal by hand with enough elbow grease — it will just take you longer.
You may find that you’ll need to sand corners and hard-to-reach areas by hand, so keeping some regular sandpaper in sight will make your job easier.
It’s Time to Paint

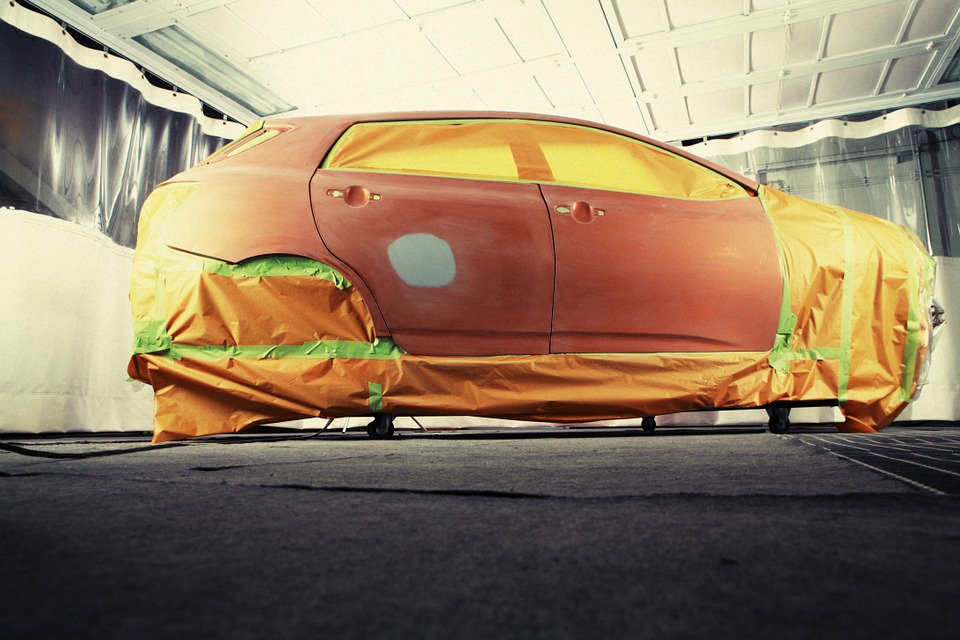
The next step is to mask off any parts you’re not planning on painting, like headlights, window trim and windshield wipers, to keep the paint off of them. Then, it’s time to start painting.
If you’re working with a spray gun, you’ll want to mix your paint with thinner to make it sprayable. Then, spray three to four coats of paint, giving them roughly 20 minutes to an hour to cure between coats.
If you’re painting by hand, you’ll still need to thin your paint with mineral spirits to ensure proper coverage. You’ll also need to apply between three and four coats to create the opaque color you’re aiming for. This type of coating doesn’t look as professional as the results from a spray gun, but if you’re trying to paint your car on a very small budget, it’s an option you might want to consider.
Finally, once the paint has cured, wet sand it with a 2,000-grit sandpaper to remove any runs or swirls before applying your topcoat to protect the newly completed paint job. Once you’ve applied the topcoat, remove the masking tape before it dries to prevent the tape from creating blemishes in the topcoat.
Enjoy Your Hard Work
That’s it — that’s all there is to it. Once the topcoat dries, your job is done and you’ve got a brand new paint to enjoy — at least, until you decide to change the color again!