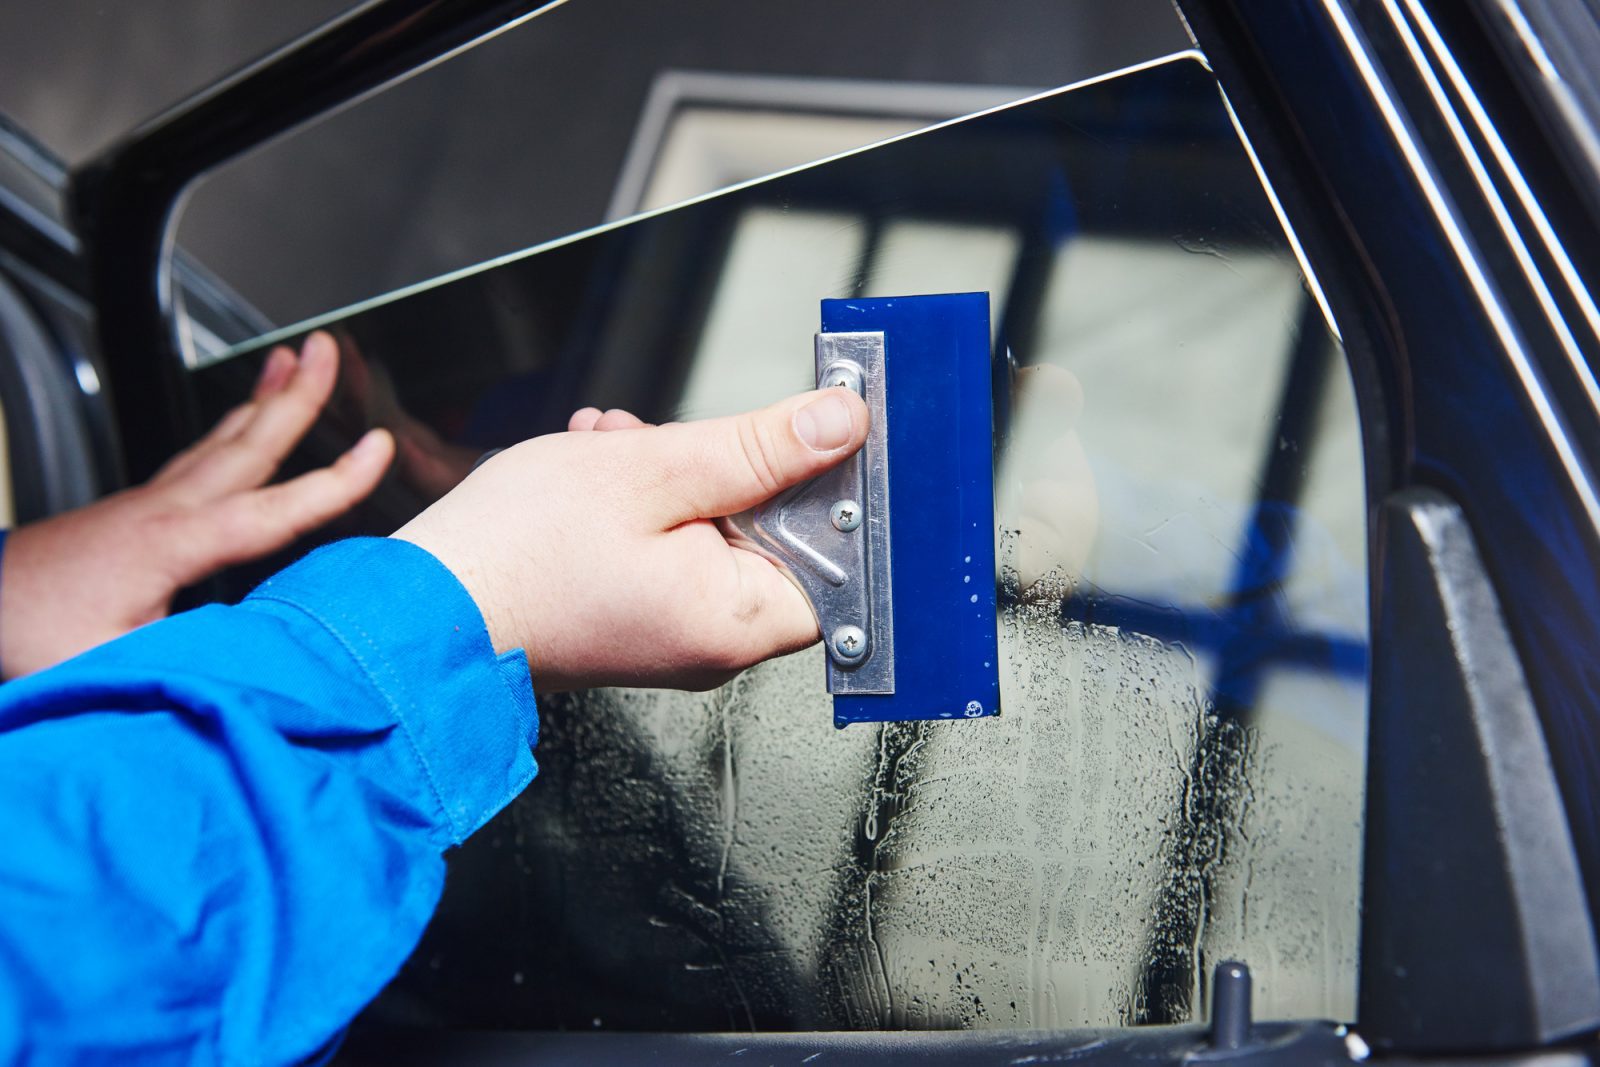
The auto window tinting industry is currently worth more than $3.14 billion. Clearly, people in the U.S. are willing to spend quite a bit of money to tint their car windows.
Are you thinking about getting your windows are tinted? Have you been considering doing it yourself instead of paying a professional to handle the process?
The good news is that DIY window tinting is a viable option as long as you have the right tools and plenty of patience. Listed below are some tips that will help you to apply window tint properly from home.
Before You Begin
Before you start trying to tint your windows, there are some things you need to consider. This includes making sure you have a clear idea of what kind of window tint you’re looking for.
Choose the proper window tint percentage (do some research to find out what’s allowed in your area), pick your window tint colors. You should also decide if you want carbon tint, ceramic tint, or something else altogether.
Once you’ve made your decisions regarding your specific window tint, it’s time to gather your supplies. For a proper window tinting job, you’ll need to have the following on hand:
- Window tint film
- Window tint film application solution
- Lint-free cloth
- Razor knife
- Scraper blade
- Application squeegee
- Heat gun
It’s also important to make sure you have access to a dust-free place, such as a clean garage, to do the job. Make sure your workspace is not too hot, too cold, or too humid, either. All of these factors can influence your tinting process and make it harder to get a high-quality, professional-grade result.
How to Apply Window Tint
Now that you have all your supplies ready to go, it’s time to apply the window tint film. Here are the steps you’ll need to follow:
Prepare Your Window
The first step is to apply the application solution. Spray it onto the inside of your car’s window, making sure you don’t accidentally over-spray it onto the door’s trim.
After spraying the solution, take the scraper blade and drag it across the window to get rid of dust and grime. Scrape the blade from side to side, beginning at the top and moving down the window. Be sure to be gentle with the blade so you don’t scratch the glass.
When this step is finished, run the squeegee across the window. Again, move from side to side, beginning at the top and then working downward to get rid of leftover debris and application solution.
Measure the Film
Once the window has been cleaned and prepped, it’s time to get ready to apply the film.
Start by applying the application solution on the outside of the window. Then, roll the tint film across the window, making sure the side with the protective-film cover faces up. The solution holds the film in place so you can cut it more easily.
Before you begin cutting, run the squeegee across the tint film. This helps to hold it in place and prevents shifting.
Roll the window down about a quarter of an inch. Then, cut the top and sides of the film so they match the shape of the window. Be sure to round the edges off during the process, too.
When you get ready to cut along the bottom, slide the film up about a half an inch. Then, you can use the window gasket to guide you to ensure you cut the film properly and have proper coverage along the base of the window.
For non-sliding windows, you don’t have to worry about rolling them up or down, obviously. Instead, the window gasket can act as your template. Simply cut the film right along the edges.
Apply the Film
Next, use a piece of clear tape to attach the film to the corner of your window. Then, peel off the protective layer. As you peel, spray the application solution onto the film’s adhesive surface.
When you’ve fully peeled off the protective liner, discard it and remove the film from the outside of the window. Place it on the inside surface and fold the bottom edge back so that it doesn’t touch the door trim.
When pressing the tint down on to the top of the window, be sure to leave a gap of about 1/8 of an inch. After this, run the squeegee over the window and push out any lingering air or water from the top edge of the film. Then, wrap the squeegee in the lint-free cloth and run it across the whole window one last time to get rid of any lingering application solution.
At this point, check to see if any bubbles are left in the film. If so, use the heat gun to warm up the area. Then, run the squeegee over it again to get rid of the air and leave behind a smooth surface.
Repeat
Once you’re satisfied with the first window, you can move on to the next. Repeat the auto window tinting process with each of your vehicle’s windows until the job is done.
Apply Window Tint Today
The process of applying window tint can seem like a nearly impossible task at first. As you can see, though, it’s not as difficult as you might have originally thought. If you have the proper equipment and are patient as you follow these guidelines, you’ll have perfectly tinted windows on your vehicle before you know it (and you’ll have saved a lot of money in the process).
Now that you’ve mastered window tinting, do you want to learn more about ways you can improve your car from home? If so, check out some of our latest car care tips today for more tips and tricks.


