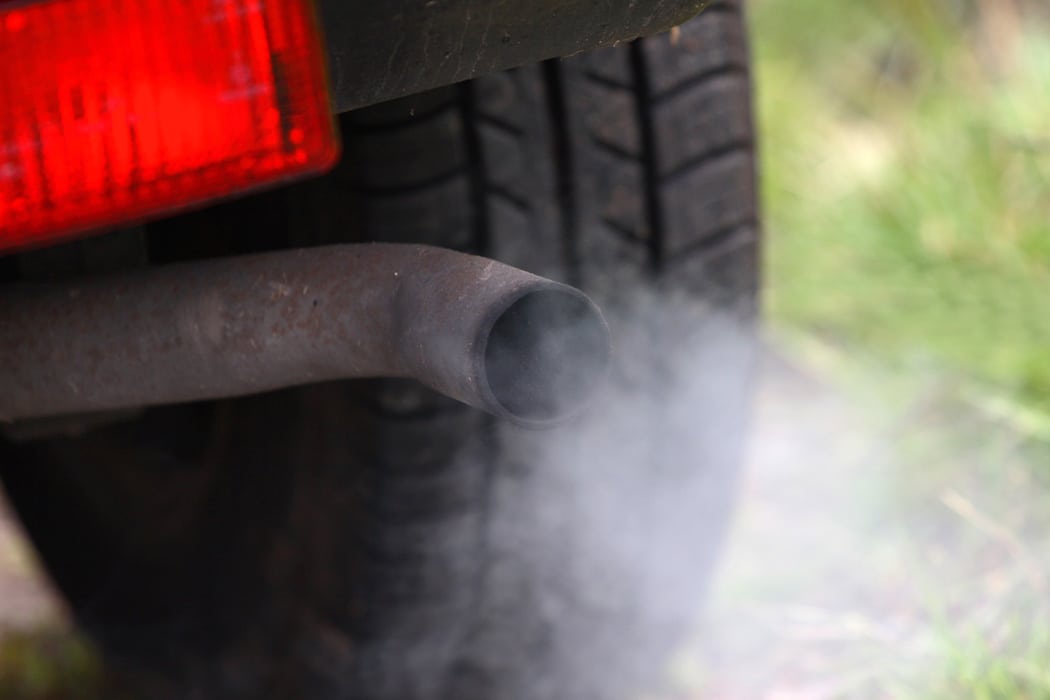
In this quick step-by-step, we’re going to show you how to do an exhaust back-pressure test on a gasoline-powered vehicle in the real world. For this, we assume you have the basic tools necessary, including either a back pressure test kit or the equivalent, including an O2 sensor adapter. It is entirely possible to do an exhaust back-pressure test with a homemade adapter and other repurposed or self-made tools, but it’s beyond our scope here to discuss how those are created and used.
The basic idea here is to test the pressure of your vehicle’s exhaust gasses as they leave the manifold and travel down the exhaust system to the tailpipe. Your goal here, if you know what a back-pressure test is for, is to find blockages to the exhaust escaping properly or to rule out excessive exhaust back-pressure as the root of another problem.
Most competent home mechanics can do this test in about ten minutes on most vehicles. Specifics will depend on the vehicle, working conditions, and the mechanic’s skill level, of course.
To begin with, locate and gain access to all of the oxygen sensors on your vehicle that are at the exhaust manifold. Most modern cars have at one: one at the manifold, with another one on the exhaust pipe near the catalytic converter. A V-style engine (V6, V8) will have one on each manifold, making for three or more in total. Your shop manual or repair guide will pinpoint the locations of each.
Be sure that you are in a safe working environment that is well-ventilated (or has a way to vent the car’s exhaust) and have proper safety tools in use (safety glasses, gloves).
With the engine off and cool enough to work with, start at the manifold with sensor 1. Disconnect it from the system (unplug its coupler) and remove it. Replace it with your O2 sensor adapter. Attach your gauge hose to the adapter. Start the vehicle and run until the RPM stabilize. Note the pressure when the gauge stabilizes with the RPM.
At the source here, your exhaust pressure at idle will be low. Depending on vehicle specification, it is likely to be less than 5 psi – often around 1.
To fully test this, note the PSI at idle then rev the engine to 2,500 RPM and hold it steady. While the needle will shake a little, it should still read within specification (often the same PSI as at idle). Once this is established, suddenly let off the throttle so the RPM fall quickly. The gauge should not move any more than it did on the increase. In a car with a back-pressure issue that “builds up” and then manifests, this will often induce the build-up release, affecting the gauge’s measurement.
Do this for both oxygen sensors at the manifold (if equipped). If either shows a PSI over specification (higher than 1 or so on most vehicles), you have an exhaust blockage. If only one of the two manifold O2 sensors shows higher PSI, you can likely guess from there where the blockage is going to be, knowing the path of your exhaust system.
If all is normal, you do not likely have an exhaust back-pressure issue. Some mechanics will check the O2 sensor at the catalytic converter too. This is not necessary unless you get an odd reading at the manifold or are attempting to diagnose a blockage’s location, such as by ruling out the catalytic converter or muffler.
This simple test has many uses for the diagnostic mechanic and is valuable to know. In our forums, you’ll often seen mechanics asking if a back-pressure test has been done. Now you can DIY your own!


