This guide is an explanation of the common “two man bleed” method for bleeding the air out of the hydraulic braking system on an automobile. You should note that your car’s brakes are its most important safety system. If you do not know how to bleed your brakes, you should find a qualified mechanic who is experienced with this procedure and use this guide as a reference only. Doing this yourself, without guidance, may lead to serious problems down the road.
Every vehicle is different, of course, but the following is a general guide that will be useful on most makes and models, including how to do this with a modern, electronic Anti-lock Braking System (ABS).
To bleed your brakes, you’ll need two people and the following tools:
- Jack and stands, lift, or other means of raising the vehicle safely for easier access to the calipers and drums.
- Short length of clear hose of about 1/4-inch in diameter, depending on the tube size of your brake bleed screw link (most are 1/8″ to 1/4″ in diameter). The length of hose will depend on where you can set a small container of brake fluid nearby – ideally on a stand just below the brakes you’re working with.
- Small, clean container capable of holding about two cups to a quart of clean, new brake fluid.
- Screwdriver or wrench for removing bleed screws.
- At least one pint of brake fluid per wheel being bled, preferably two.
- ABS scan tool (or capable universal scanner) for ABS-equipped vehicles.
Start by filling the reservoir above the master cylinder to its full mark. Replace cap. “Burp” air out (if so equipped). Raise the vehicle safely to a height that makes access to the bleed screws convenient.
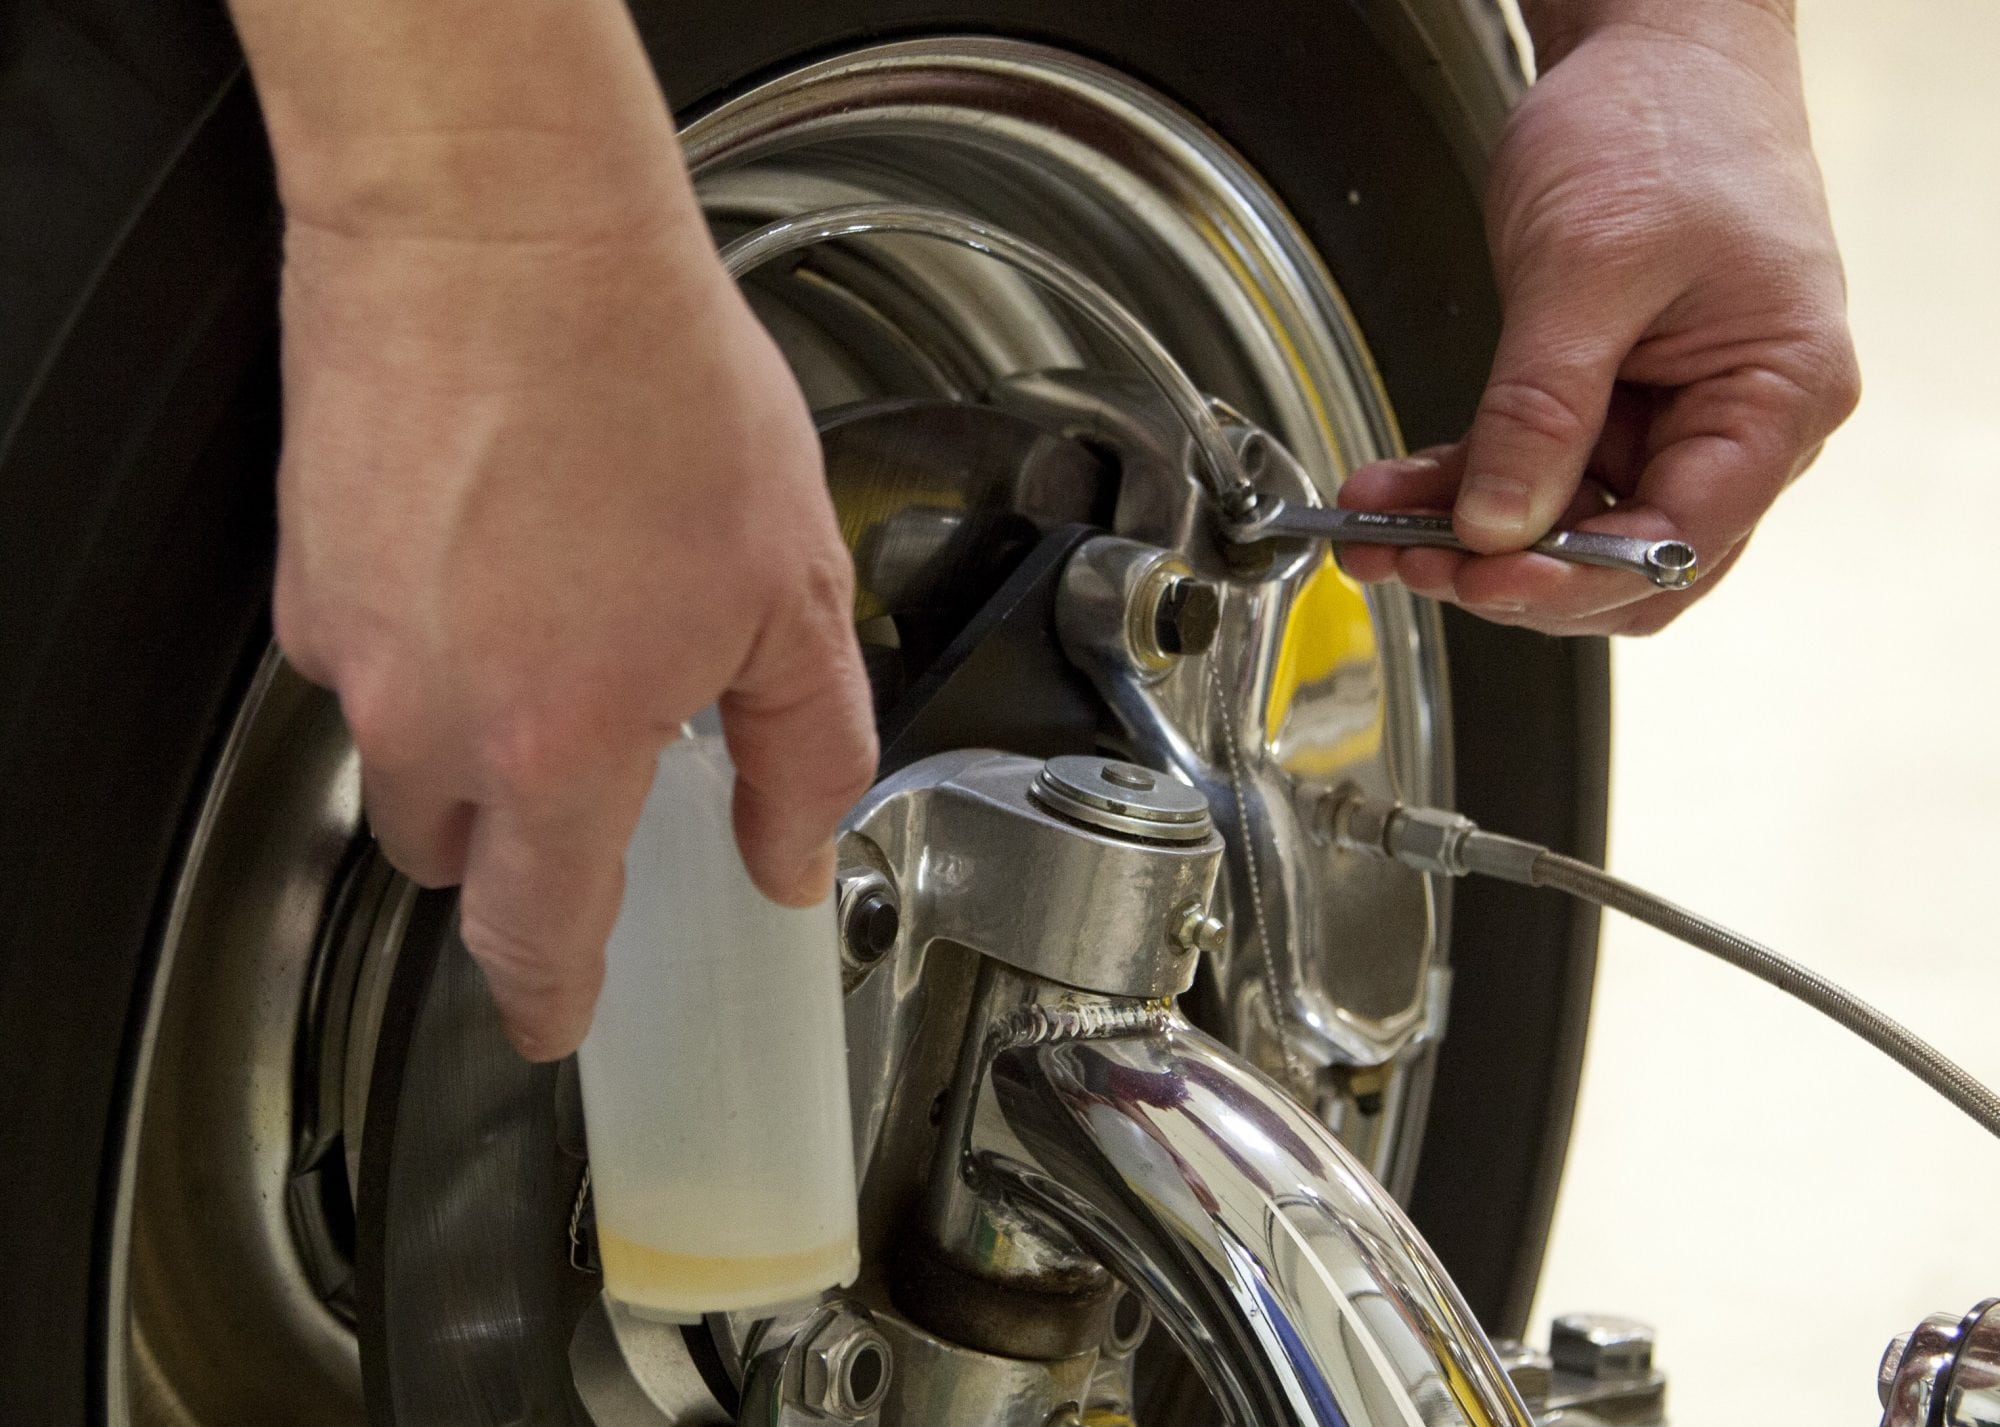
Starting with the right-rear wheel (passenger’s, rear), clean the end of the bleed screw with a clean shop rag, then install the clear hose on the screw. Place the other end of the hose into your container of clean, new brake fluid. Loosen the screw one half to one full turn, stopping when it begins to “leak” fluid into the hose.
Press the brake pedal slowly down. Once it’s all the way down, tighten the bleed screw and release the pedal. Wait 15 seconds for the master cylinder to return to its home position. Check its reservoir and add fluid as needed, as above.
Move to the left-rear, then right- and left-front wheels in turn, repeating the hose-bleed-pump-close at each.
With all four done and closed, attach the scan tool to the ABS CPU and press the brake pedal down firmly. Run the tool’s Automated Bleed Procedure with the pedal down, following instructions and releasing the pedal between tests. Note that it’s likely that you’ll need to have the vehicle in a position where it can safely be started and run during the scan tool tests.
If the brake pedal, once all of this is done, does not feel tight enough, repeat the process at each wheel once again. Make sure to keep the master cylinder’s reservoir full, as it is easy to run it dry during this procedure. After major brake system repairs, it is not unusual to have to go through the bleed procedure three or four times to get all of the air out of the lines. If you cannot get the pedal to feel normal, you may have a leak in your braking system.
Remember to always use clean, new DOT-3 brake fluid, as recommended by your manufacturer. It’s recommended that you always use new, unopened containers when refilling your brake system and use the rest as lubricant for household items (bicycle chains and the like) rather than keep it for use in a car, as it can become contaminated and that can lead to disaster in your hydraulic braking system.