One of the things often overlooked in do-it-yourself manuals, on DIY websites, and so forth is basic tool use. Quite often it’s assumed that the reader is already familiar with the tool in question. Electricity is one of those things that everyone thinks they understand, but once the nitty gritty starts, they actually have no idea what they’re doing. Using a multimeter can be daunting with all of the weird symbols and unexplained numbers on the dial.
So let’s simplify it. We’re going to look at basic multimeter use for the three things most commonly done in automotive diagnostics and repair: voltage readings, continuity checks, and resistance checks. Often, a diagnostic will require all three be done. Luckily, these are pretty easy to do once you understand how to do it.
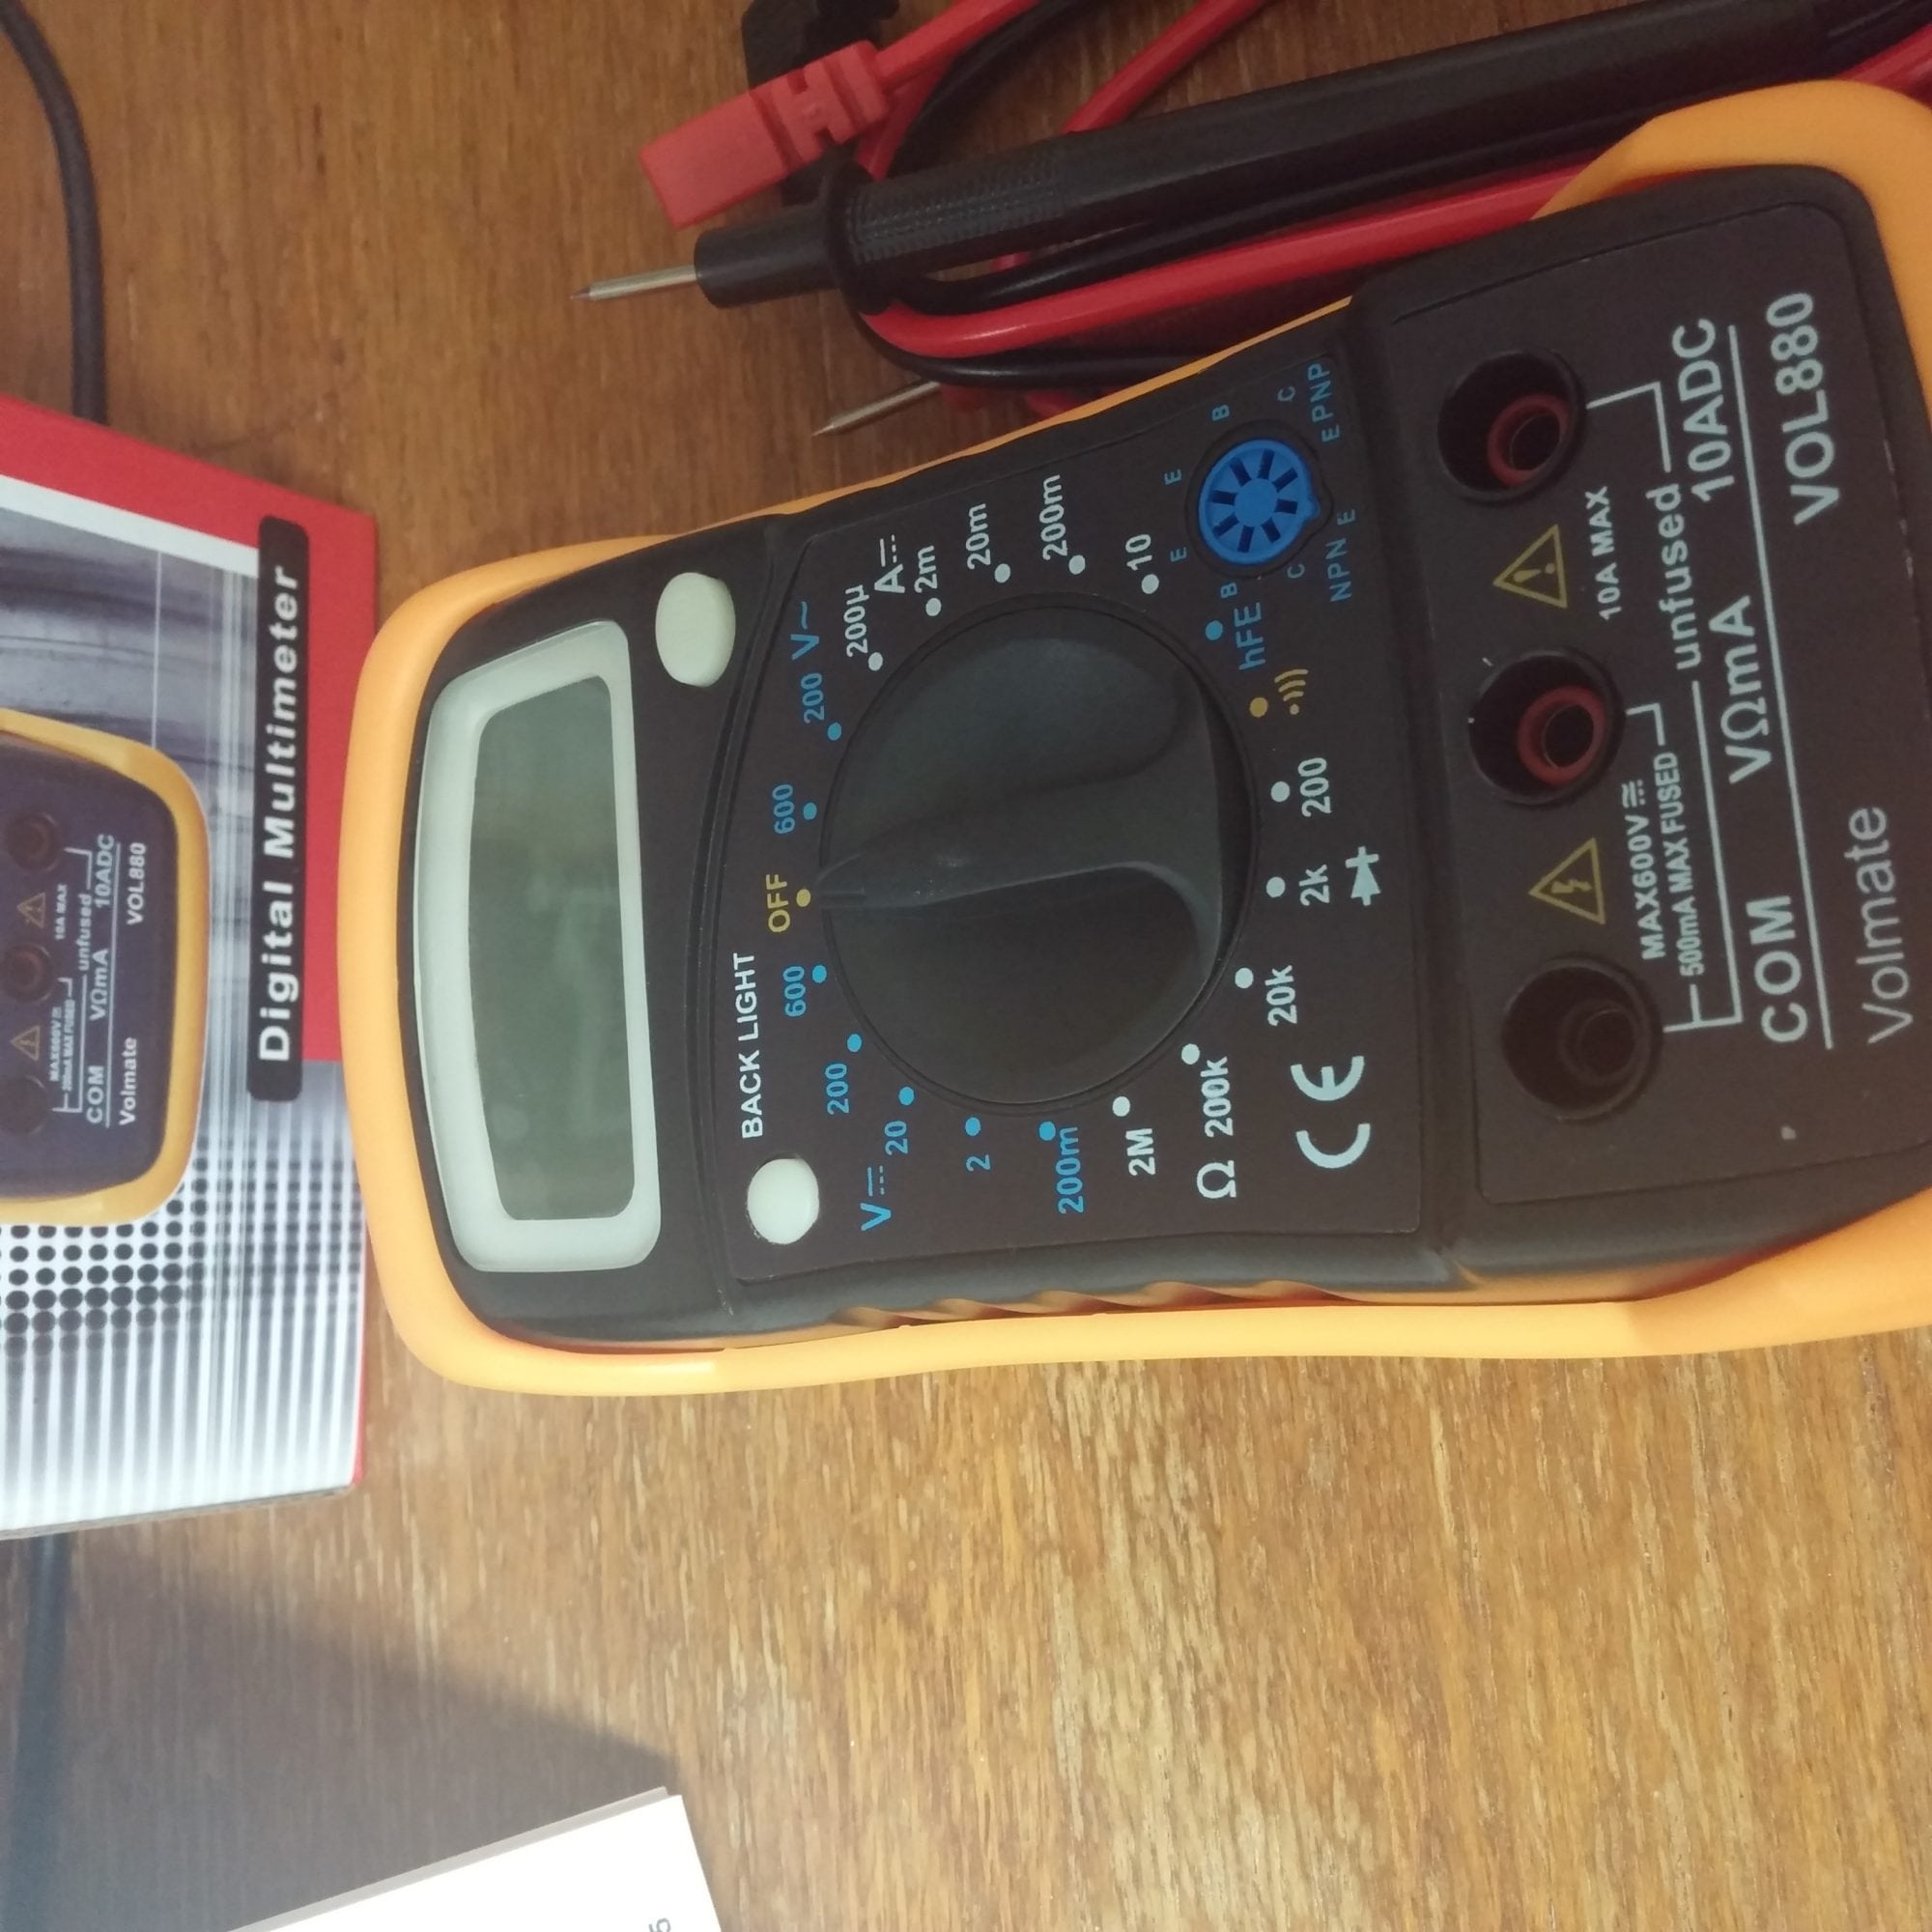
We’ll start with the multimeter itself. I’ve owned several in my lifetime, often losing them or getting them broken. I prefer not to spend a lot of money one them. My first serious multimeter for automotive use was a high-end unit purchased for use in an electronics class. I spent more than $100 in the 1990s for that meter and used it extensively. Then one day I accidentally ran it over.. So I got a $20 unit. Used that for a few months and then dropped it onto pavement. It shattered. So I got a $40 unit and it did well for a couple of years before falling off a ladder.. you get the gist.
For obvious reasons, I tend to stick with relatively low cost electronic tools like this because I don’t tend to be very good at protecting them. The meter you’re seeing in photos here is a Volmater VOL880 I got from Amazon. It was actually sent as a review item a month or so ago and replaced another multimeter I had that got dropped off a ladder. This one has a protective case. I’m hoping that works.
 Anyway, let’s start with the basics. On the face of your meter will be a dial with four “zones” of choices. There will also be three plugs for your red and black wires. The COM (common) jack is where the black wire will plug in. The VΩmA (also sometimes the mAVΩ) is the other one you’ll use most often with your red wire. This one is usually inside the multimeter’s protective circuit to keep overloads from destroying your tool. The third jack is usually an out-of-circuit jack for bypassing the protection with higher amperage tests. In automotive, you aren’t likely to need that.
The next thing to know are what the symbols on your four zones of choices in the multimeter’s dial are. Squiggly lines mean alternating current (AC) and straight lines mean direct current (DC). For most automotive, you’ll be in the DC zone. The other zones are for amperage checks, which you’ll use when doing resistance testing.
Voltage Checks
Unless you have an auto-ranging multimeter (not likely), you’ll then need to select your maximum voltage point. In automotive, that’s usually 20V. Turning the dial there allows you to read up to 20V in output or continuity. Simply place the red end on one side and the black on another and you’ll get a reading on how much power is flowing. A car battery will output somewhere within 20 percent of its rated output, usually 13V or so when fully charged. Amperage output will vary according to the battery’s rating.
Most of the time that you’re using this basic power measurement, you’re looking to see if something is, in fact, receiving power. A headlight, for example, may or may not have power coming to it. Plug your multimeter’s red wire into the power input side of the headlamp’s plug, the black onto a ground point, and turn on the lights. If the meter reads output, you have power. If not, or if it’s very low for the circuit, you have a problem.
Resistance and Continuity Checks
Checking resistance is simpler. At its most basic, you’re putting a known amount of power into one side of a circuit and seeing how much comes out the other side. The difference between the two is how much resistance the circuit has. Most of the time, you’ll want to do this with the vehicle’s power source (battery) disconnected. You can remove one battery cable or both (I prefer both). Fuses, links, switches, relays, and more can be tested for resistance.
Using our headlamp bulb as an example again, just put one of the meter on one side and the other on the other side and set the meter to a low ohm check (Ω). The meter will send a small amount of power through the probes and read what the return is to calculate a resistance.
Similarly, continuity checks are looking to see if power is passing through a circuit. This is less sophisticated, however, with the meter being set to send power and the other end receive it. An audible signal will be sent if there is power. This allows fast checking of multiple connections or several sections, one at a time, without having to read the meter every time. Simply check one and if you get a beep, move to the next, the next, etc.
Current Draw
Lastly, another item that you’ll likely be checking occasionally is current draw. This is the amount of current a component is pulling. What a part is rated to pull and what it actually pulls can be two different things. This can also tell you if something is draining the battery (parasitic draw) when the vehicle is turned off.
The first check is your battery, which you’ll need to do by disconnecting the negative cable and setting the multimeter to the maximum amperage the battery can discharge. This will likely require that you bypass the protective circuit on your meter. Put the black probe on the disconnected negative cable and the red one on the power prong of the battery. If the car is switched off, you should get no reading. You can adjust your multimeter to find out exactly how much is draining if you want. The rest is narrowing down the culprit. Just remember that with meter readings, start with your highest possible output scale and work down from there. This protects your equipment.