There are many gadgets that can measure the amount of electricity any system uses. It is important to know where to plug it in, as well as understanding the appropriate charge and battery needed. A system won’t power up with too little energy and may get damaged with too much power.
Using an Electronic Multimeter
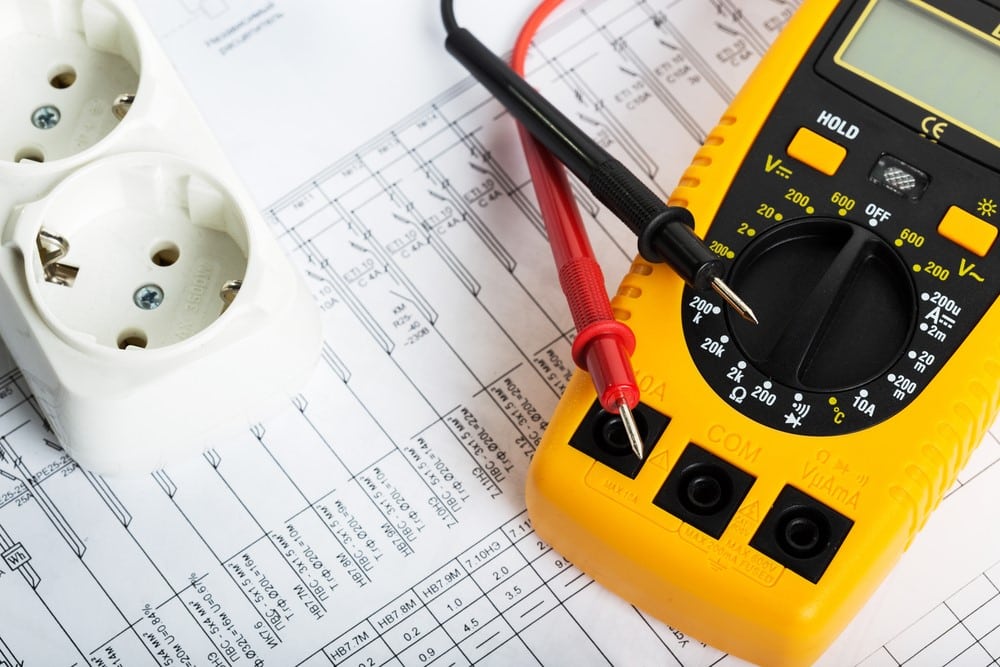
A electronic multimeter is one of the more common and popular devices that will be able to help you with that.
But what happens when your electronic multimeter dies? You would replace your electronic multimeter. However, you could repair it yourself instead of replacing it or bringing it to a repair shop. Read on as we show you how to repair an electronic multimeter.
What You Need to Do To Repair an Electronic Multimeter
Before you learn how to repair an electronic multimeter, here are a few things you’ll need to prepare beforehand:

- Spare Fuse
- Extra Multimeter
- Soldering Iron
- Wire Strippers
- Batteries for Your Multimeter
- Small Screwdriver
- 24-Gauge Wire
- Desoldering Wick
- Electronics Solder
- Your Multimeter’s Owner’s Manual
You can find any of these items in your home or sold from online shops and local hardware stores near you
How to Repair an Electronic Multimeter
Here are the steps to follow to repair your electronic multimeter and have it functioning like normal again :
-
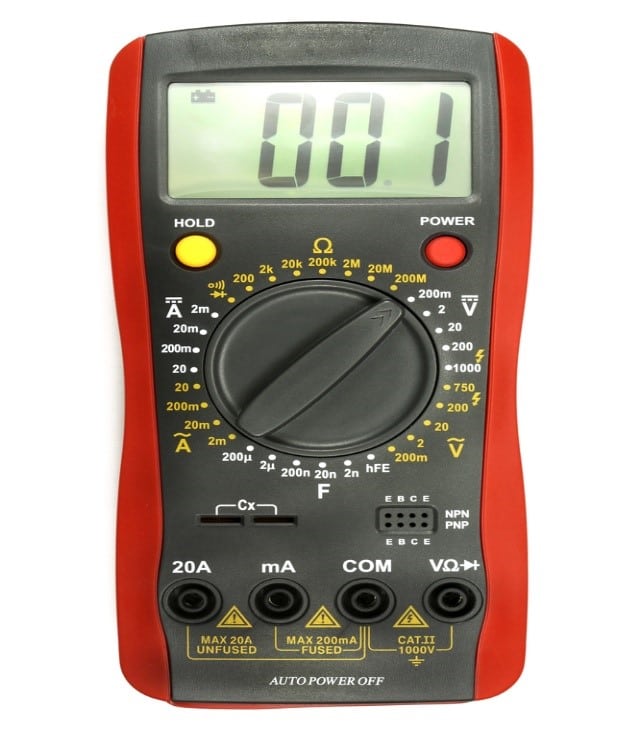
Check Battery
Turn on the electronic multimeter. If it doesn’t power up or the screen is dim, then it may just be a battery problem. Replace the battery or charge it. Some multimeters show the battery levels, so you’ll be able to evaluate that problem quickly. If it still shows problems, move on to the next step.
-
Test Probes
If you aren’t getting accurate measurements, then the test probe leads may be the trouble. Set the electronic to read resistance. Touch the ends of the probes. If you’re getting ratings over 1 ohm or erratic leads, then install new test probe leads.
-
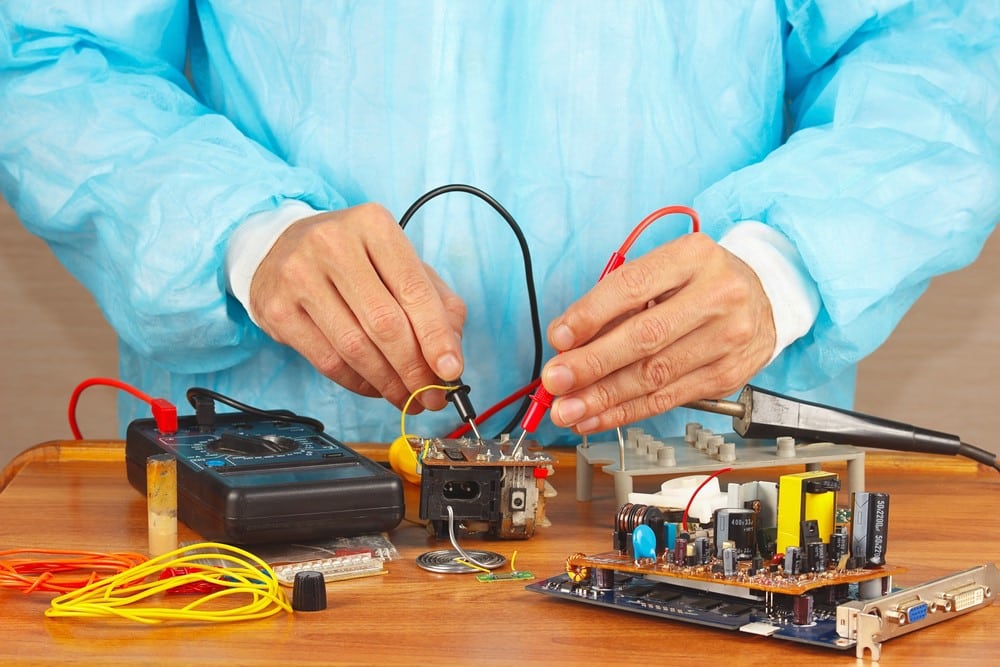
Disassemble the Electronic Multimeter
If replacing the test probe leads isn’t the problem, then disassemble it to evaluate the problem that lies inside the multimeter.
-
Check Fuse
Remove the fuse and check if the wires inside it are burnt or blown. You can find it easily if the fuse is made of glass. If not, then check its resistance using another multimeter. Replace the fuse if no resistance shows. You can find the right fuse recommended on the owner’s manual.
-
Re-solder Wires
Check for any broken or rusted wires or connectors. You can re-solder the wires to fix the problem.
-
Check for Loose Parts or Screws
There may be loose parts or screws that might have been separated from where it’s supposed to be. Give your multimeter a gentle shake, or use a magnifying glass to see if there are any loose or lost screws.
-
Reassemble and Test
If you have fixed the multimeter and see no problem, then reassemble it and check for resistance again. If it’s under 1 ohm, then the multimeter works. If not, then it’s best to either replace the multimeter or have it replaced.
In Conclusion
Electricity is one of the most important things you’ll need to learn about. After all, we all use it everyday! An electronic multimeter is unimportant device you own to determine the amount of power one gadget uses. It will give you the results in a jiffy!
Hopefully, this article on how to repair an electronic multimeter helps you become more knowledgeable about multimeters and how you can save money fixing your own!
We hep you found the article informative. If you have any more questions or thoughts on how to repair an electronic multimeter, then comment down below! We’d love to hear what you have to think.